Creating your first map
Start a new map item, add a layer, save. The single shortest path from "I just signed in" to "I have a map I can share."
basicA map is an item that combines one or more layers with a viewport and a basemap. Maps are how you compose data for human consumption; they're what web apps render and what print templates print.
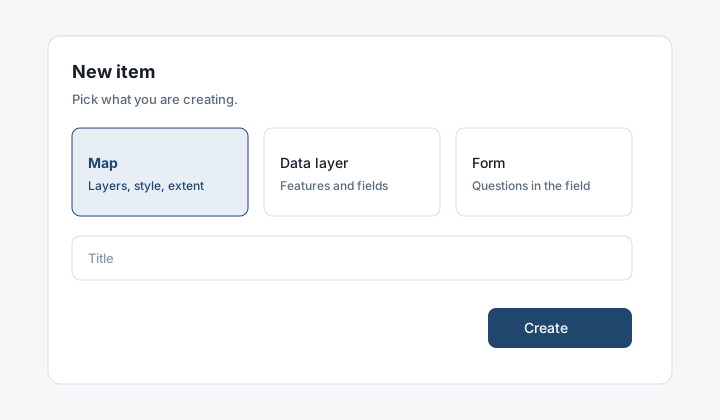
Steps
- From the items grid (the landing page after you sign in), click + New item.
- Pick Map from the wizard. The selected card is the filled one in the figure above.
- Give the map a title, then click Create.
- You land on the map's detail page. Click Open builder.
- In the map builder, click + Add layer in the left rail.
- Pick a data layer you have access to and click Add.
- The layer renders on the map. Open Style on the layer to change its color, size, and labels. Save with ⌘S or the Save button.
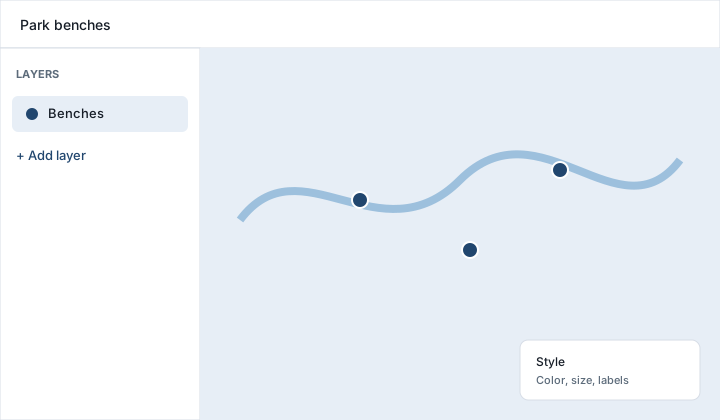
On a phone the layer list and the settings panel collapse to icons at the edges of the map. Tap an icon to slide that panel over the map, then tap the map to put it away.
That's it. You now have a map you can share, embed in a web app, or print.
What you do next depends on the use
- Style the layer: select it in the layer panel and use the Style + Symbology controls. See Map editing → Symbology.
- Constrain what users see: add a filter on the layer (Filters section).
- Decide what happens on click: configure popups (Popups section).
- Share it: the Sharing section on the map's detail page.
What the map item stores
The map item's data blob includes:
- The list of layers (each with its style, filter, popup config).
- The default viewport (center, zoom, bearing, pitch).
- The basemap binding.
- Per-layer access overrides (separate from the underlying data layer's own sharing).
It does not duplicate the features themselves. Those live in the referenced data layer items. A change in the underlying data layer shows up immediately on every map that references it.